Brown Butter Ghee Chocolate Chunk Cookies
I have always loved trying different variations of chocolate chip cookie recipes. Maybe it has something to do with the fact that my husband absolutely loves chocolate chip cookies. I stumbled upon the idea of making gluten free chocolate chip cookies that called for ghee instead of butter, coconut palm sugar instead of white sugar and almond flower instead of white flour in the recipe. I have to admit, I was skeptical of the cookies tasting like anything other than cardboard (just keeping it real here!). However, these cookies turned out incredible! So incredible that my husband who is the cookie cridic in our house, was completely blown away and really enjoyed them! I brought some over to our neighbors and they had the same reaction. You have to give this recipe a try!


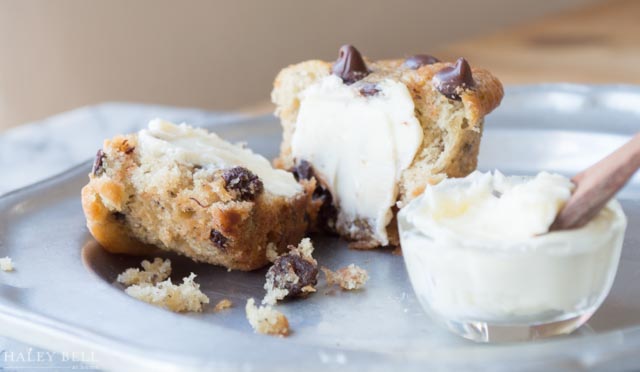
There are so many good things to say about this cookie dough. It is incredibly easy to make, especially if you buy brown butter ghee already prepared. The dough also taste amazing by the spoonful! But then again, what cookie dough doesn't?!

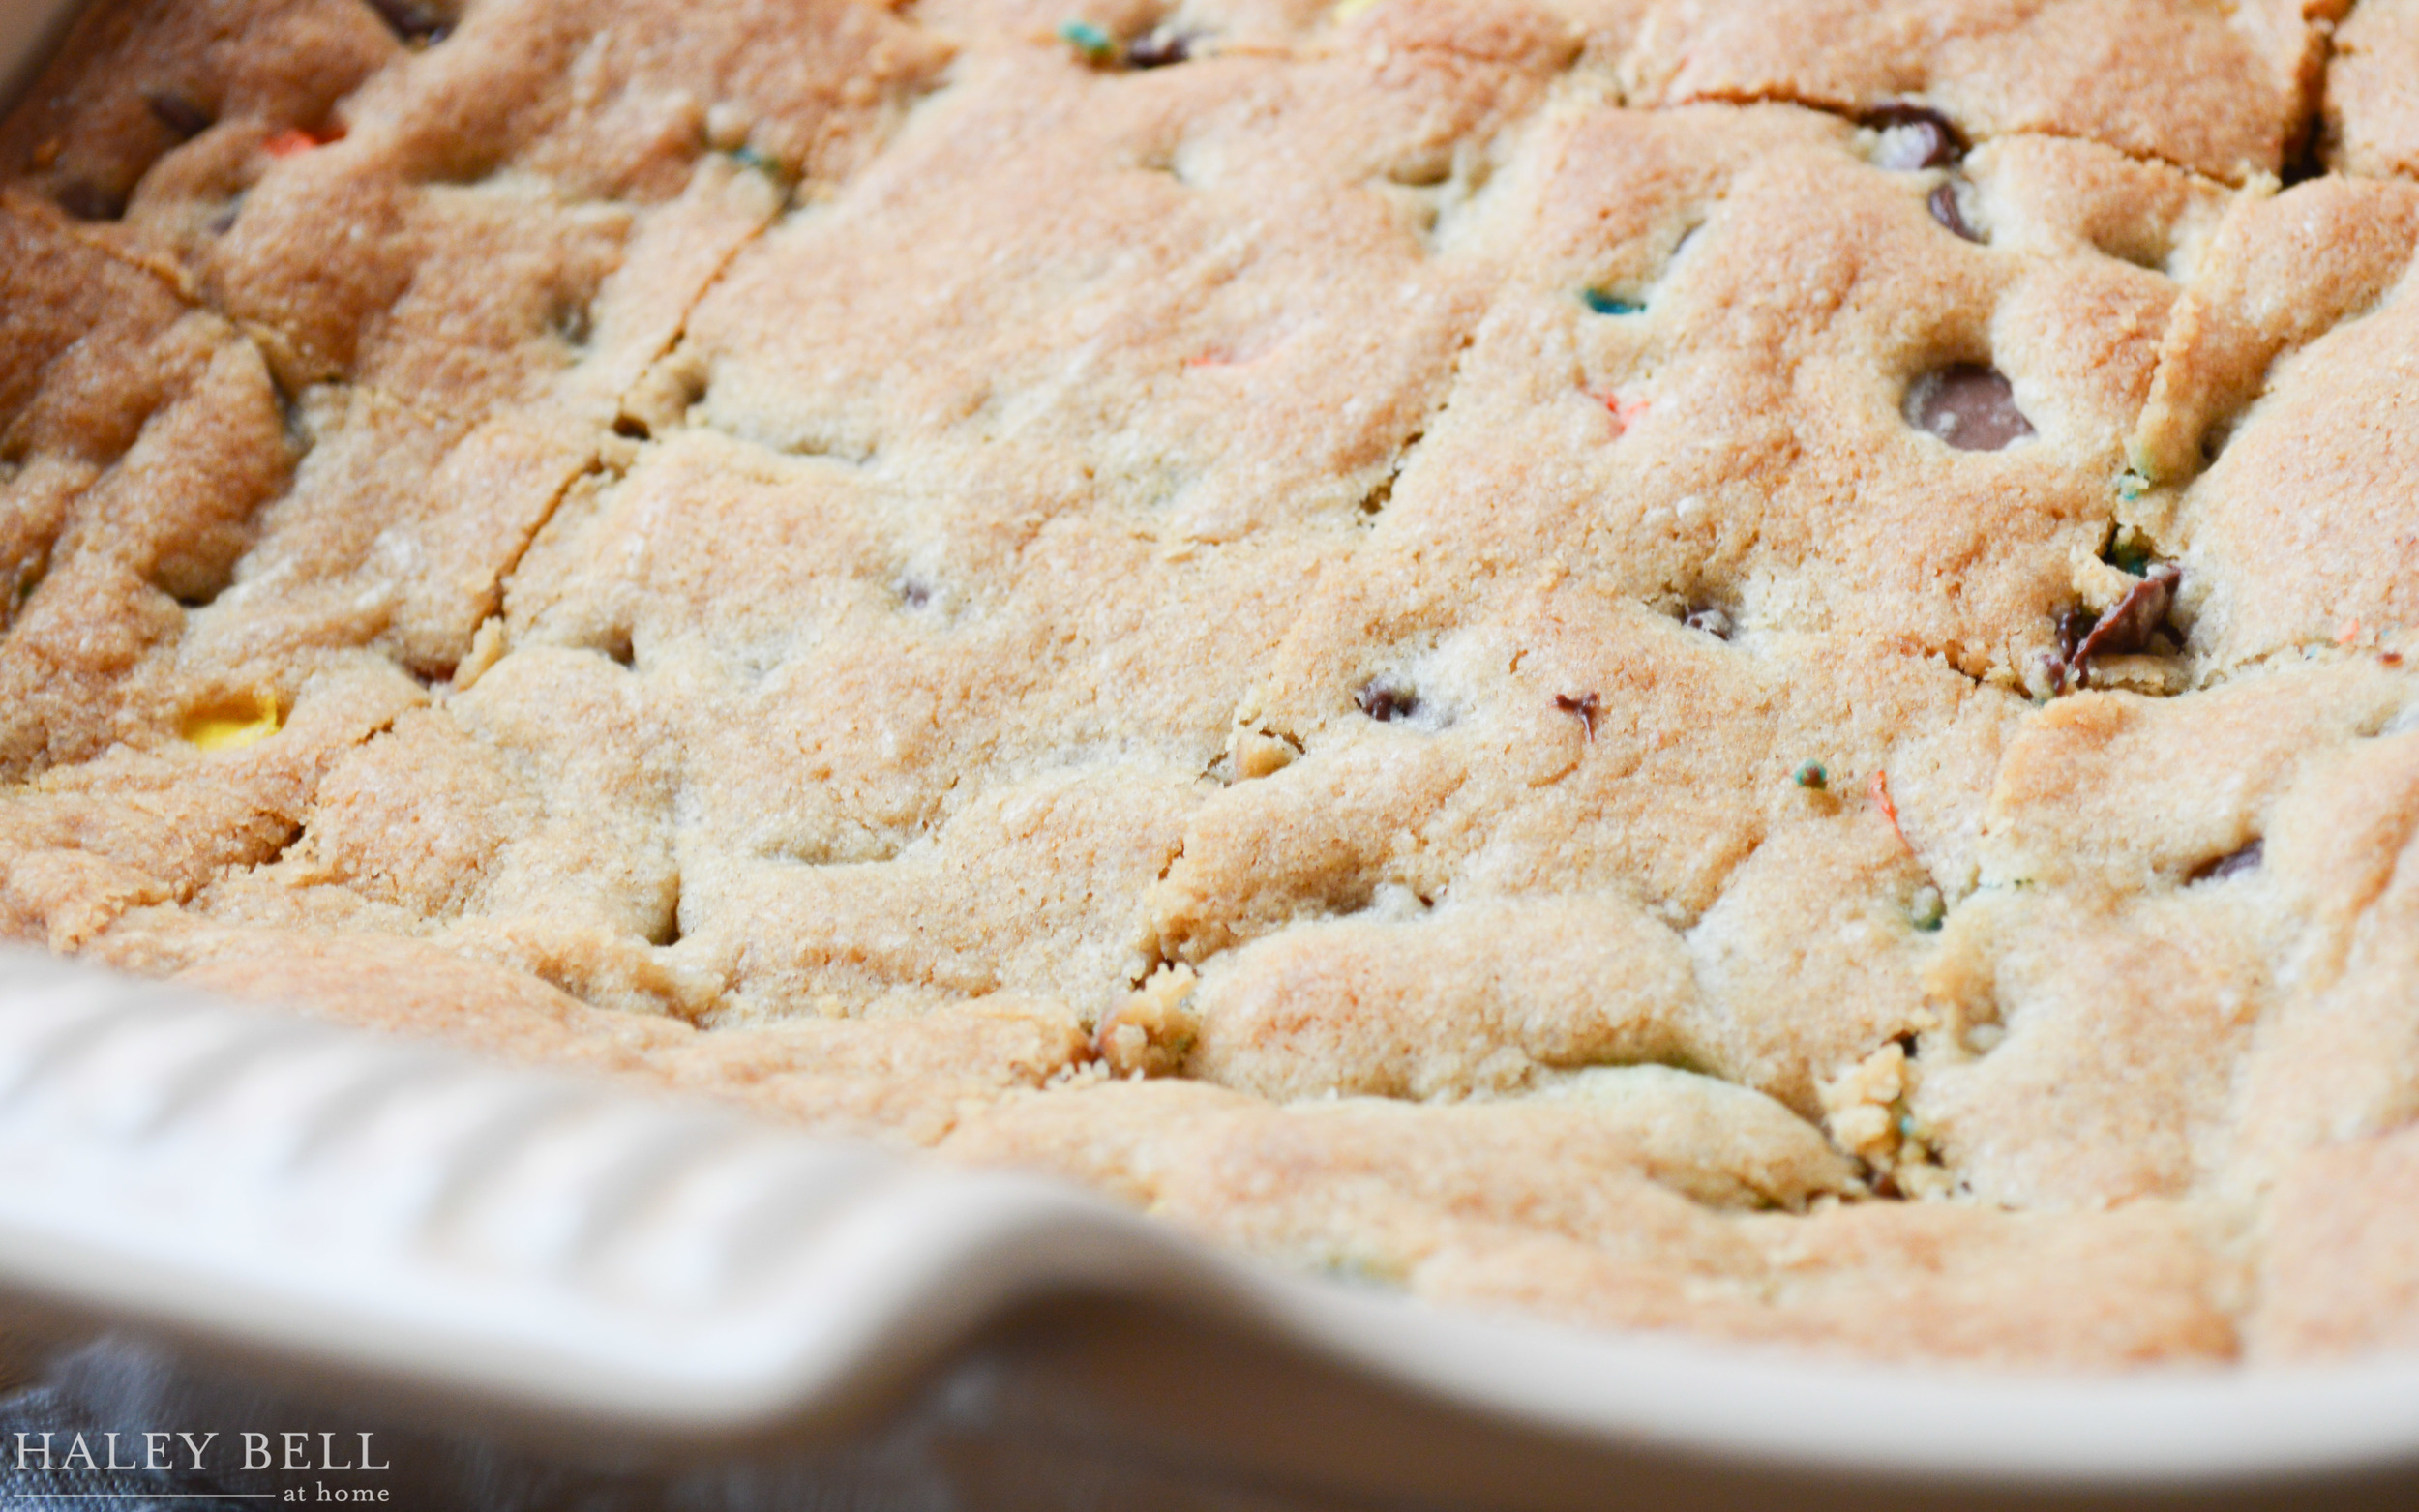
The key to these cookies is the mix of chocolate chunks and chocolate chips that I used. They gave the cookies amazing flavor and also prevented them from being really thin and flat.
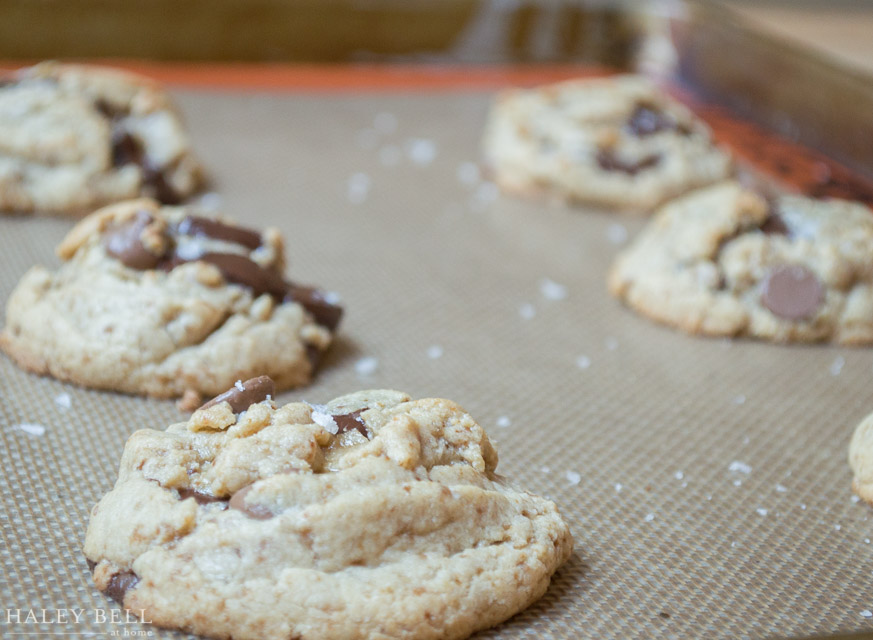

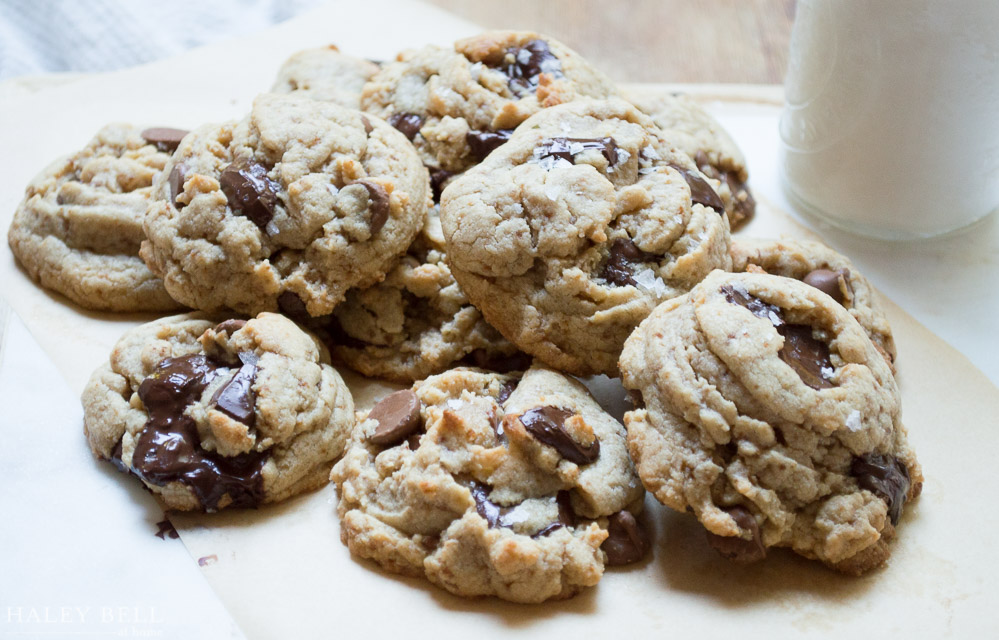
When I pulled the cookies out of the oven, I immediately sprinkled them with some flaky sea salt. It really elevated the flavors! Even though the ingredients might not be traditional to chocolate chip cookies, you still get that incredible smell when you bake them!

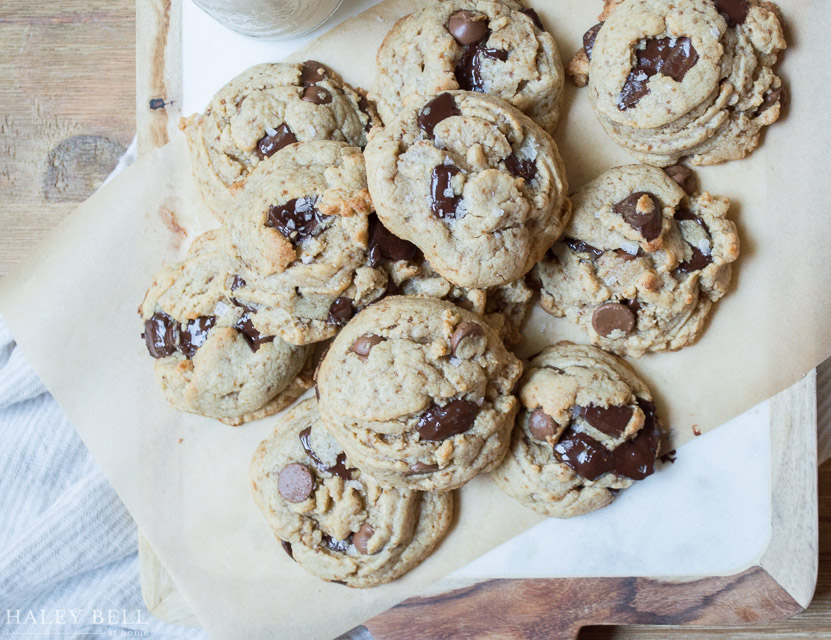

These cookies taste amazing fresh out of the oven when they are still slightly warm yet crispy around the edges. I love the nutty flavor from the brown butter ghee and of course the gooey chocolate. I piled the cookies onto a platter and my husband and I enjoyed one too many of them with a tall glass of milk!

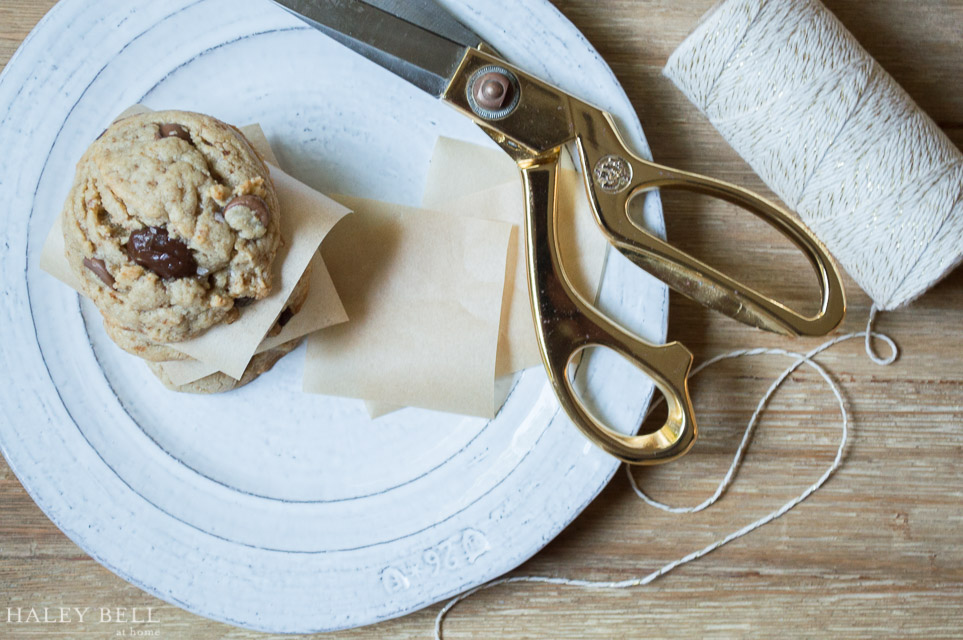
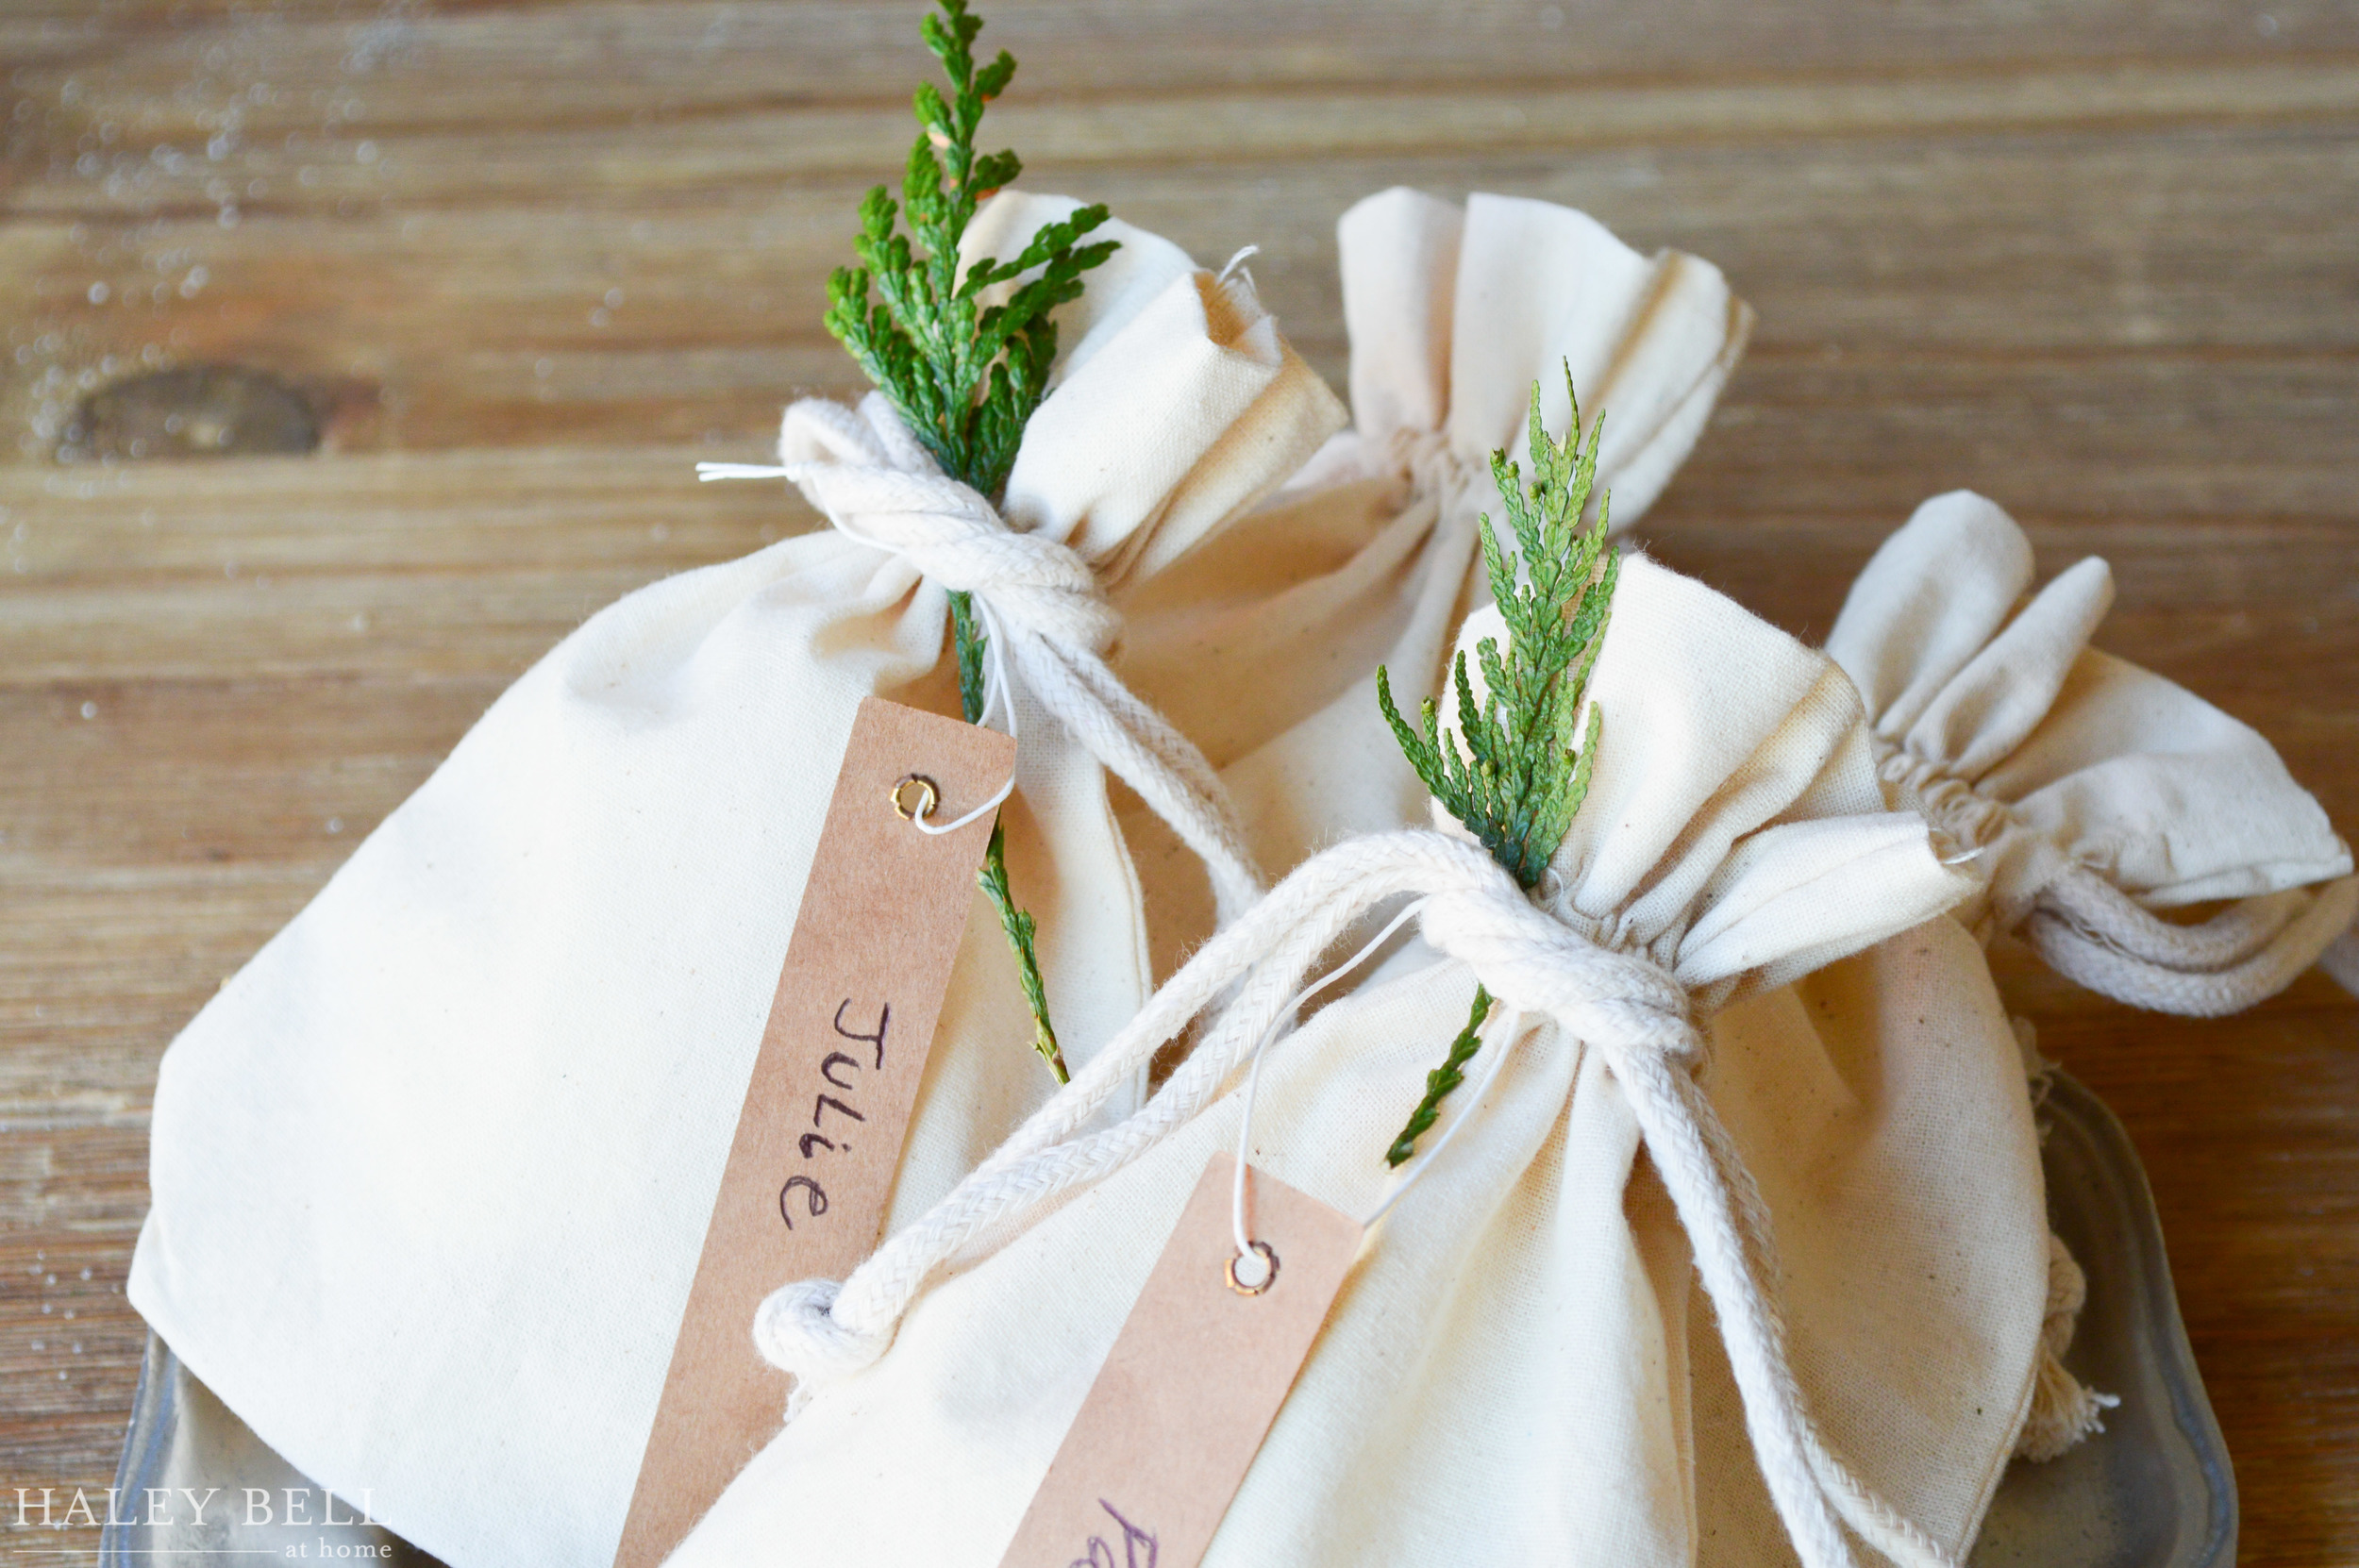
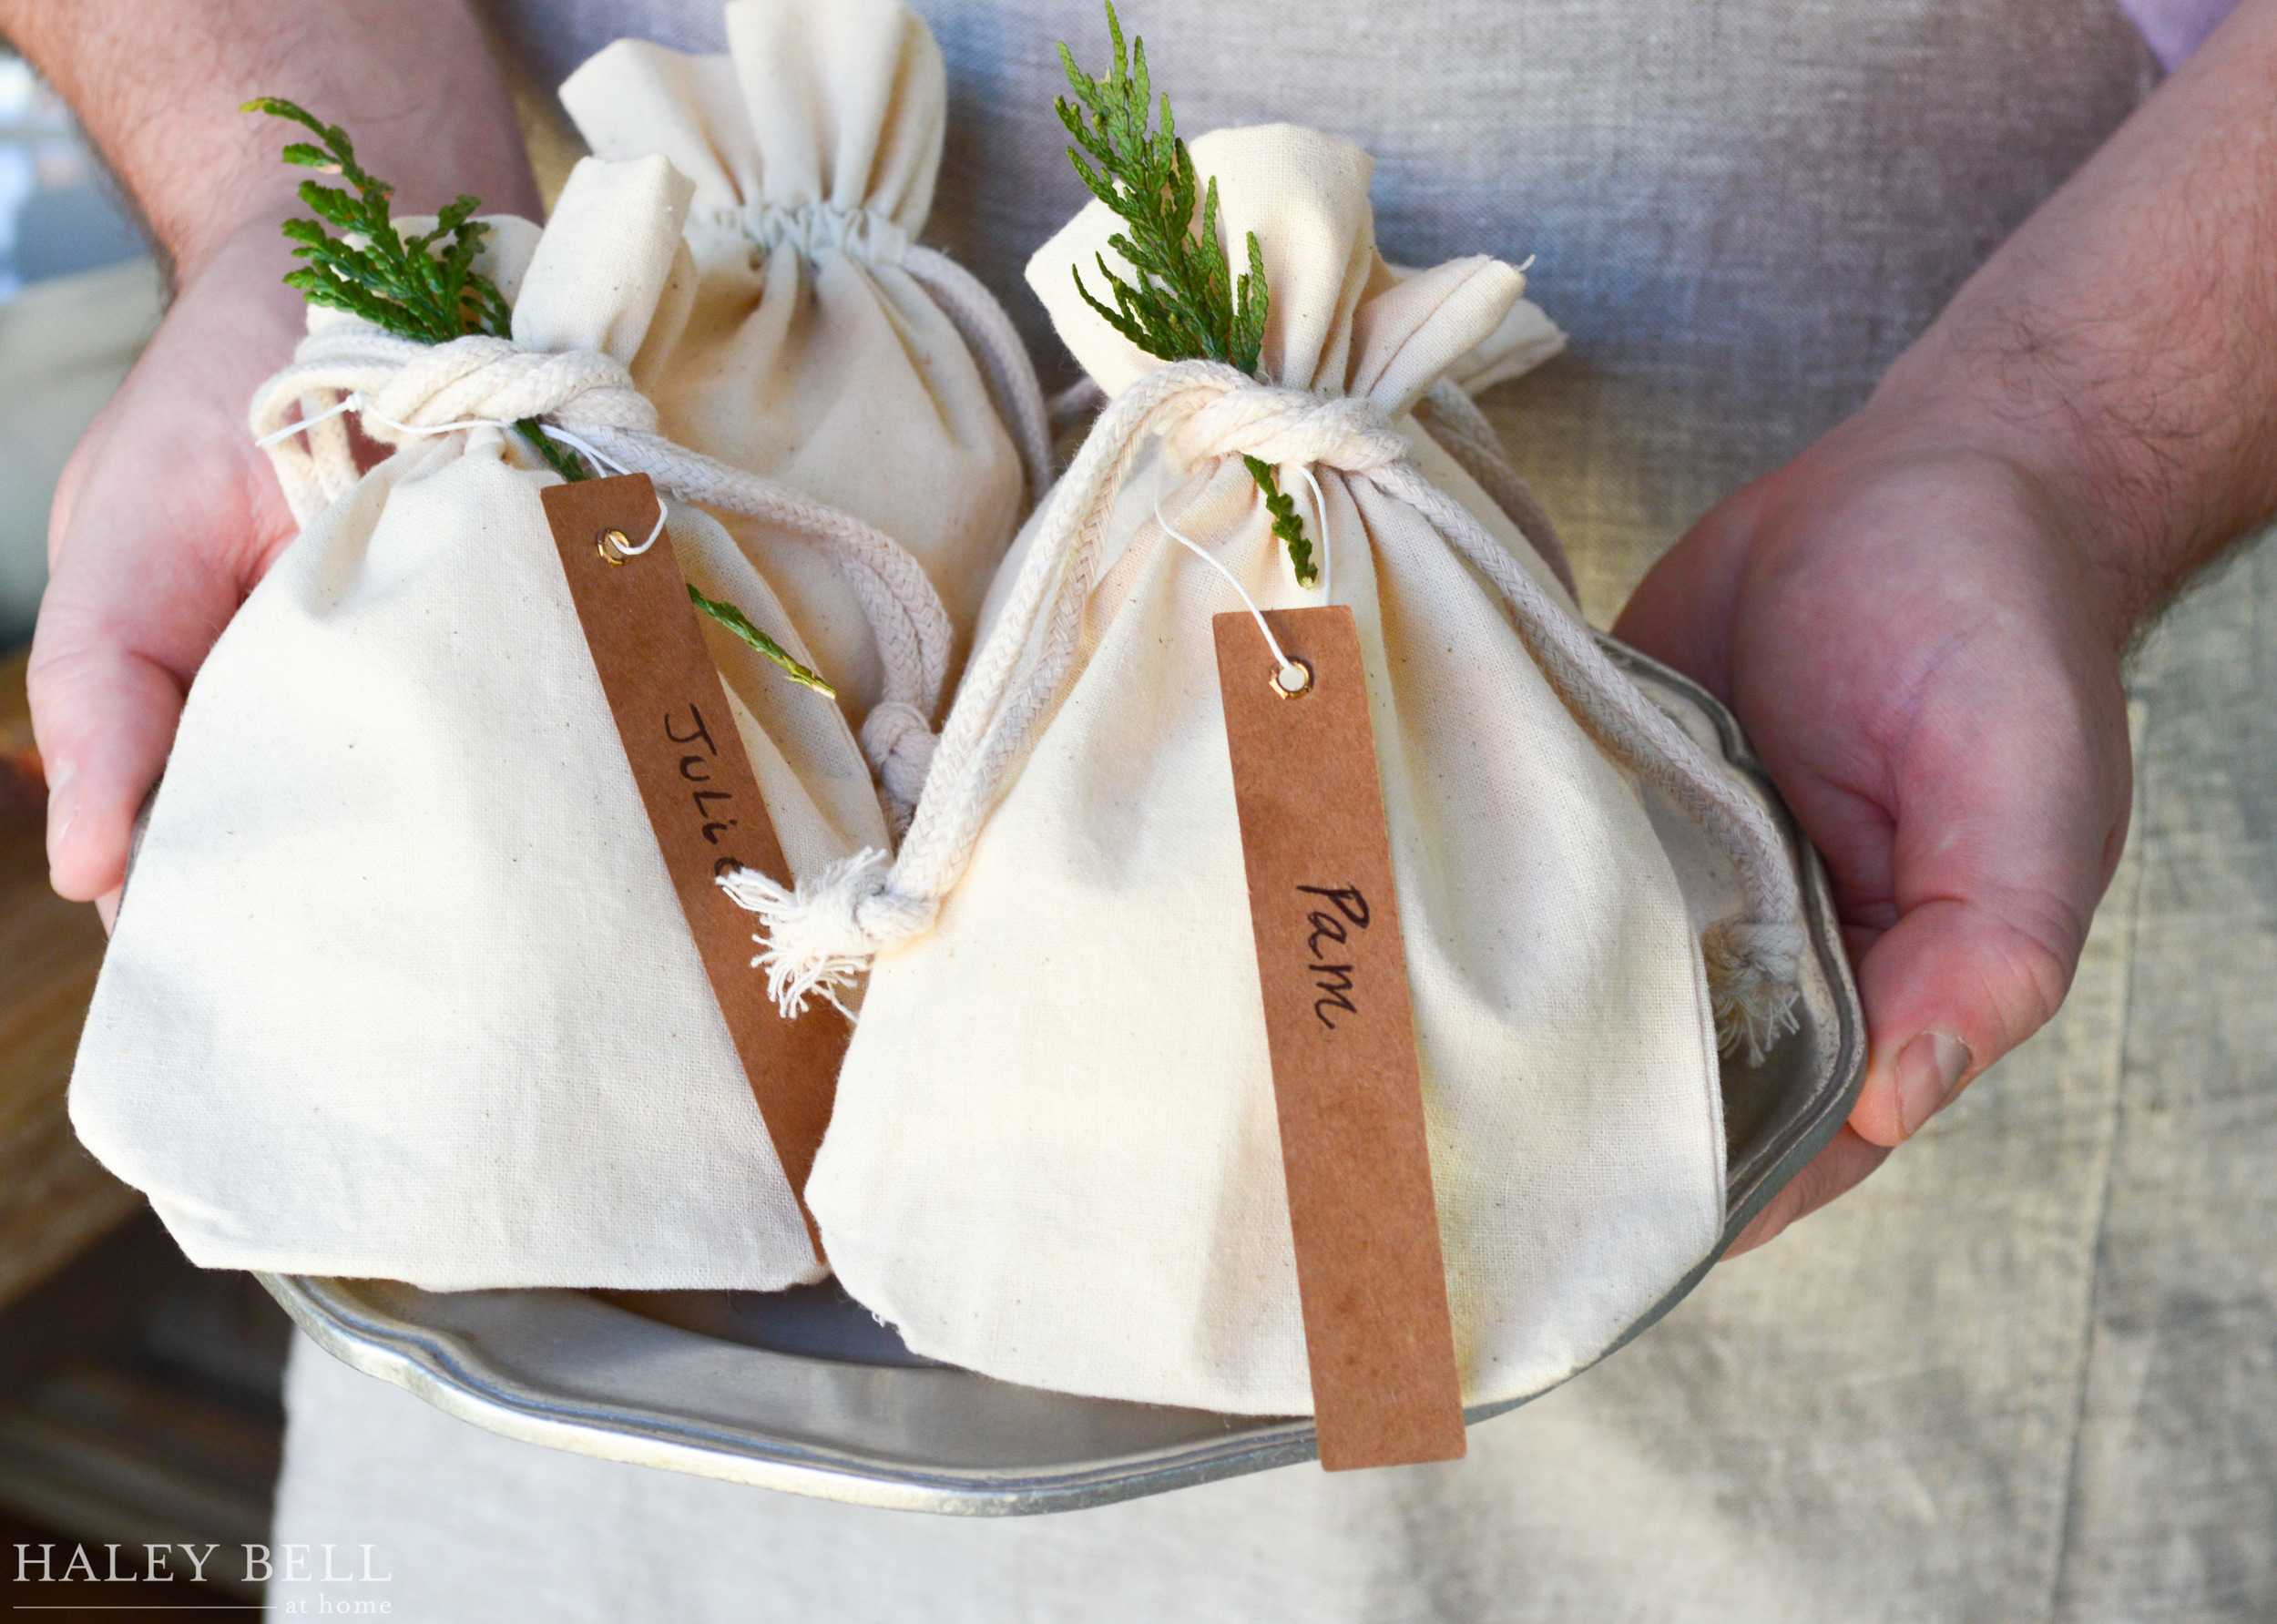
These cookies also make great gifts, especially if someone has dietary restrictions. I like to cut small squares of natural parchment paper and place them in between the cookies. You can either package them up in a cute bag or jar and make someone very happy :)
Brown Butter Ghee Chocolate Chunk Cookie Recipe
Ingredients:
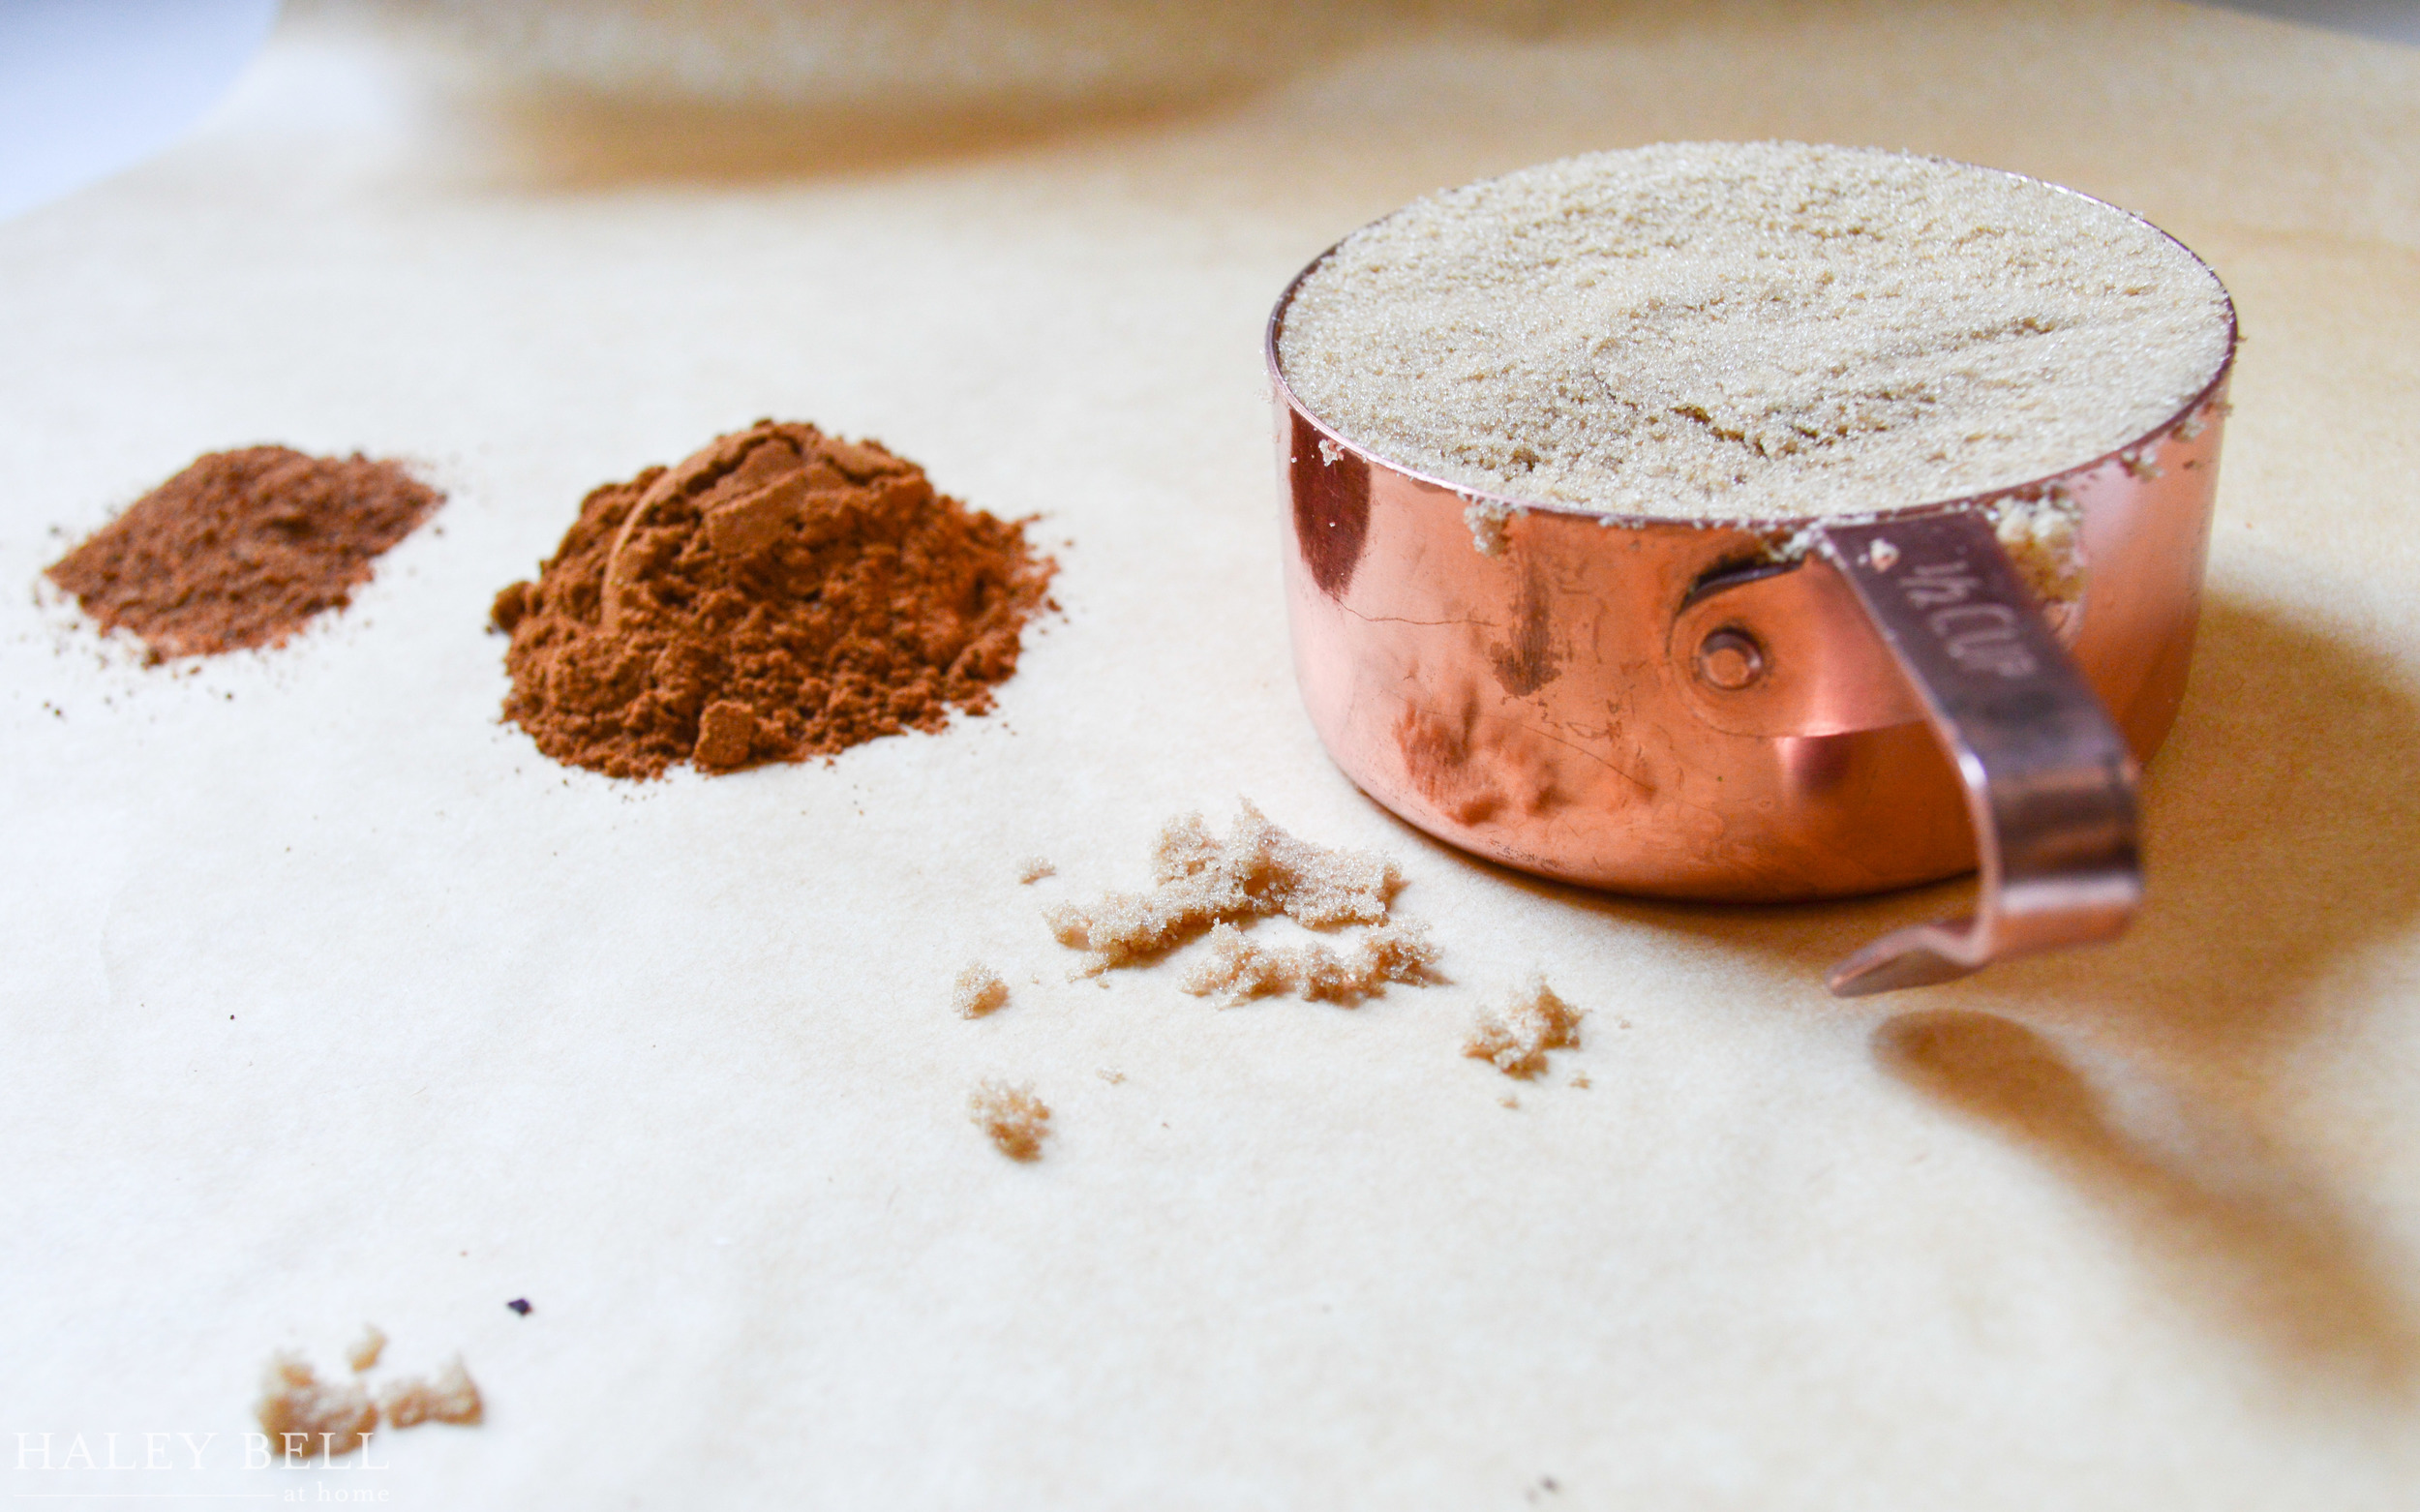
- 1/2 cup brown butter ghee
- 1/2 cup coconut palm sugar
- 1/4 cup maple syrup
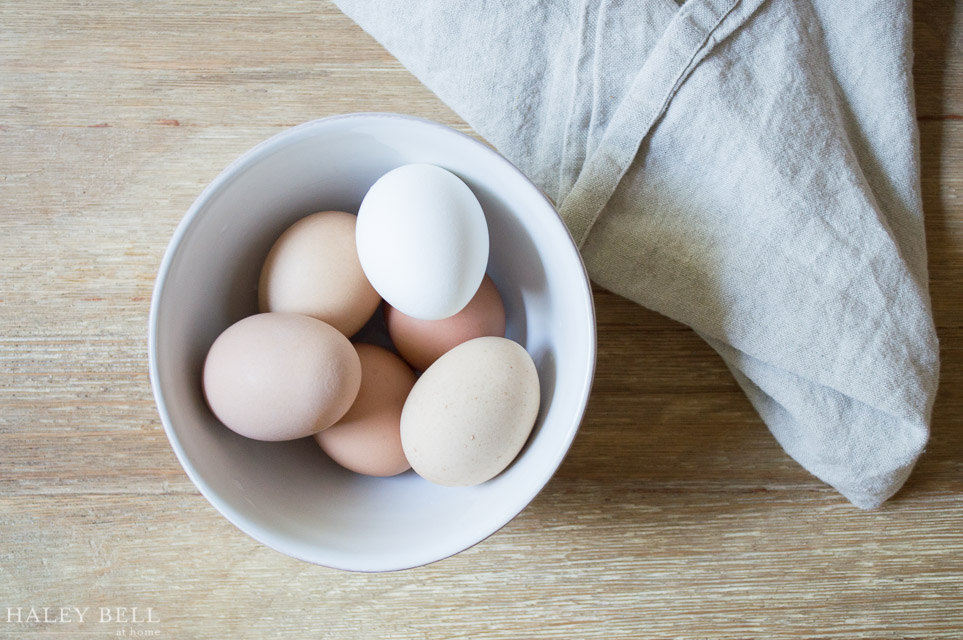
- 2 egg yolks
- 1 tsp. vanilla extract
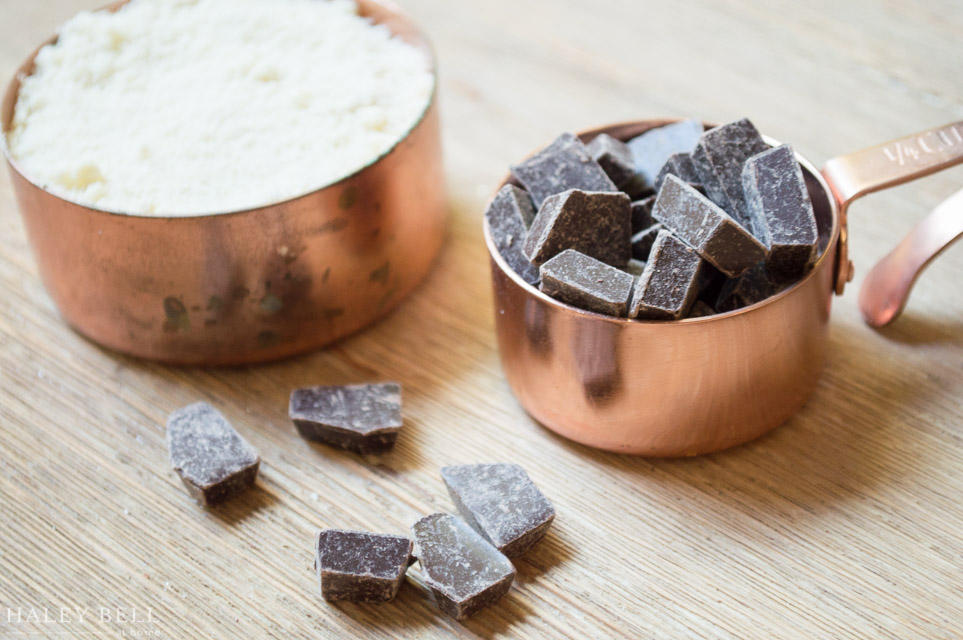
- 2 cups fine almond flour
- 1/2 cup arrowroot starch
- 1/4 tsp. sea salt
- 2/3 cup semi-sweet chocolate chunks
- 1/3 cup milk or dark chocolate chips
- Additional sea salt for topping
Directions:
- Preheat the oven to 375 and line 2 baking sheets with parchment paper or a silpat baking mat (what I used).
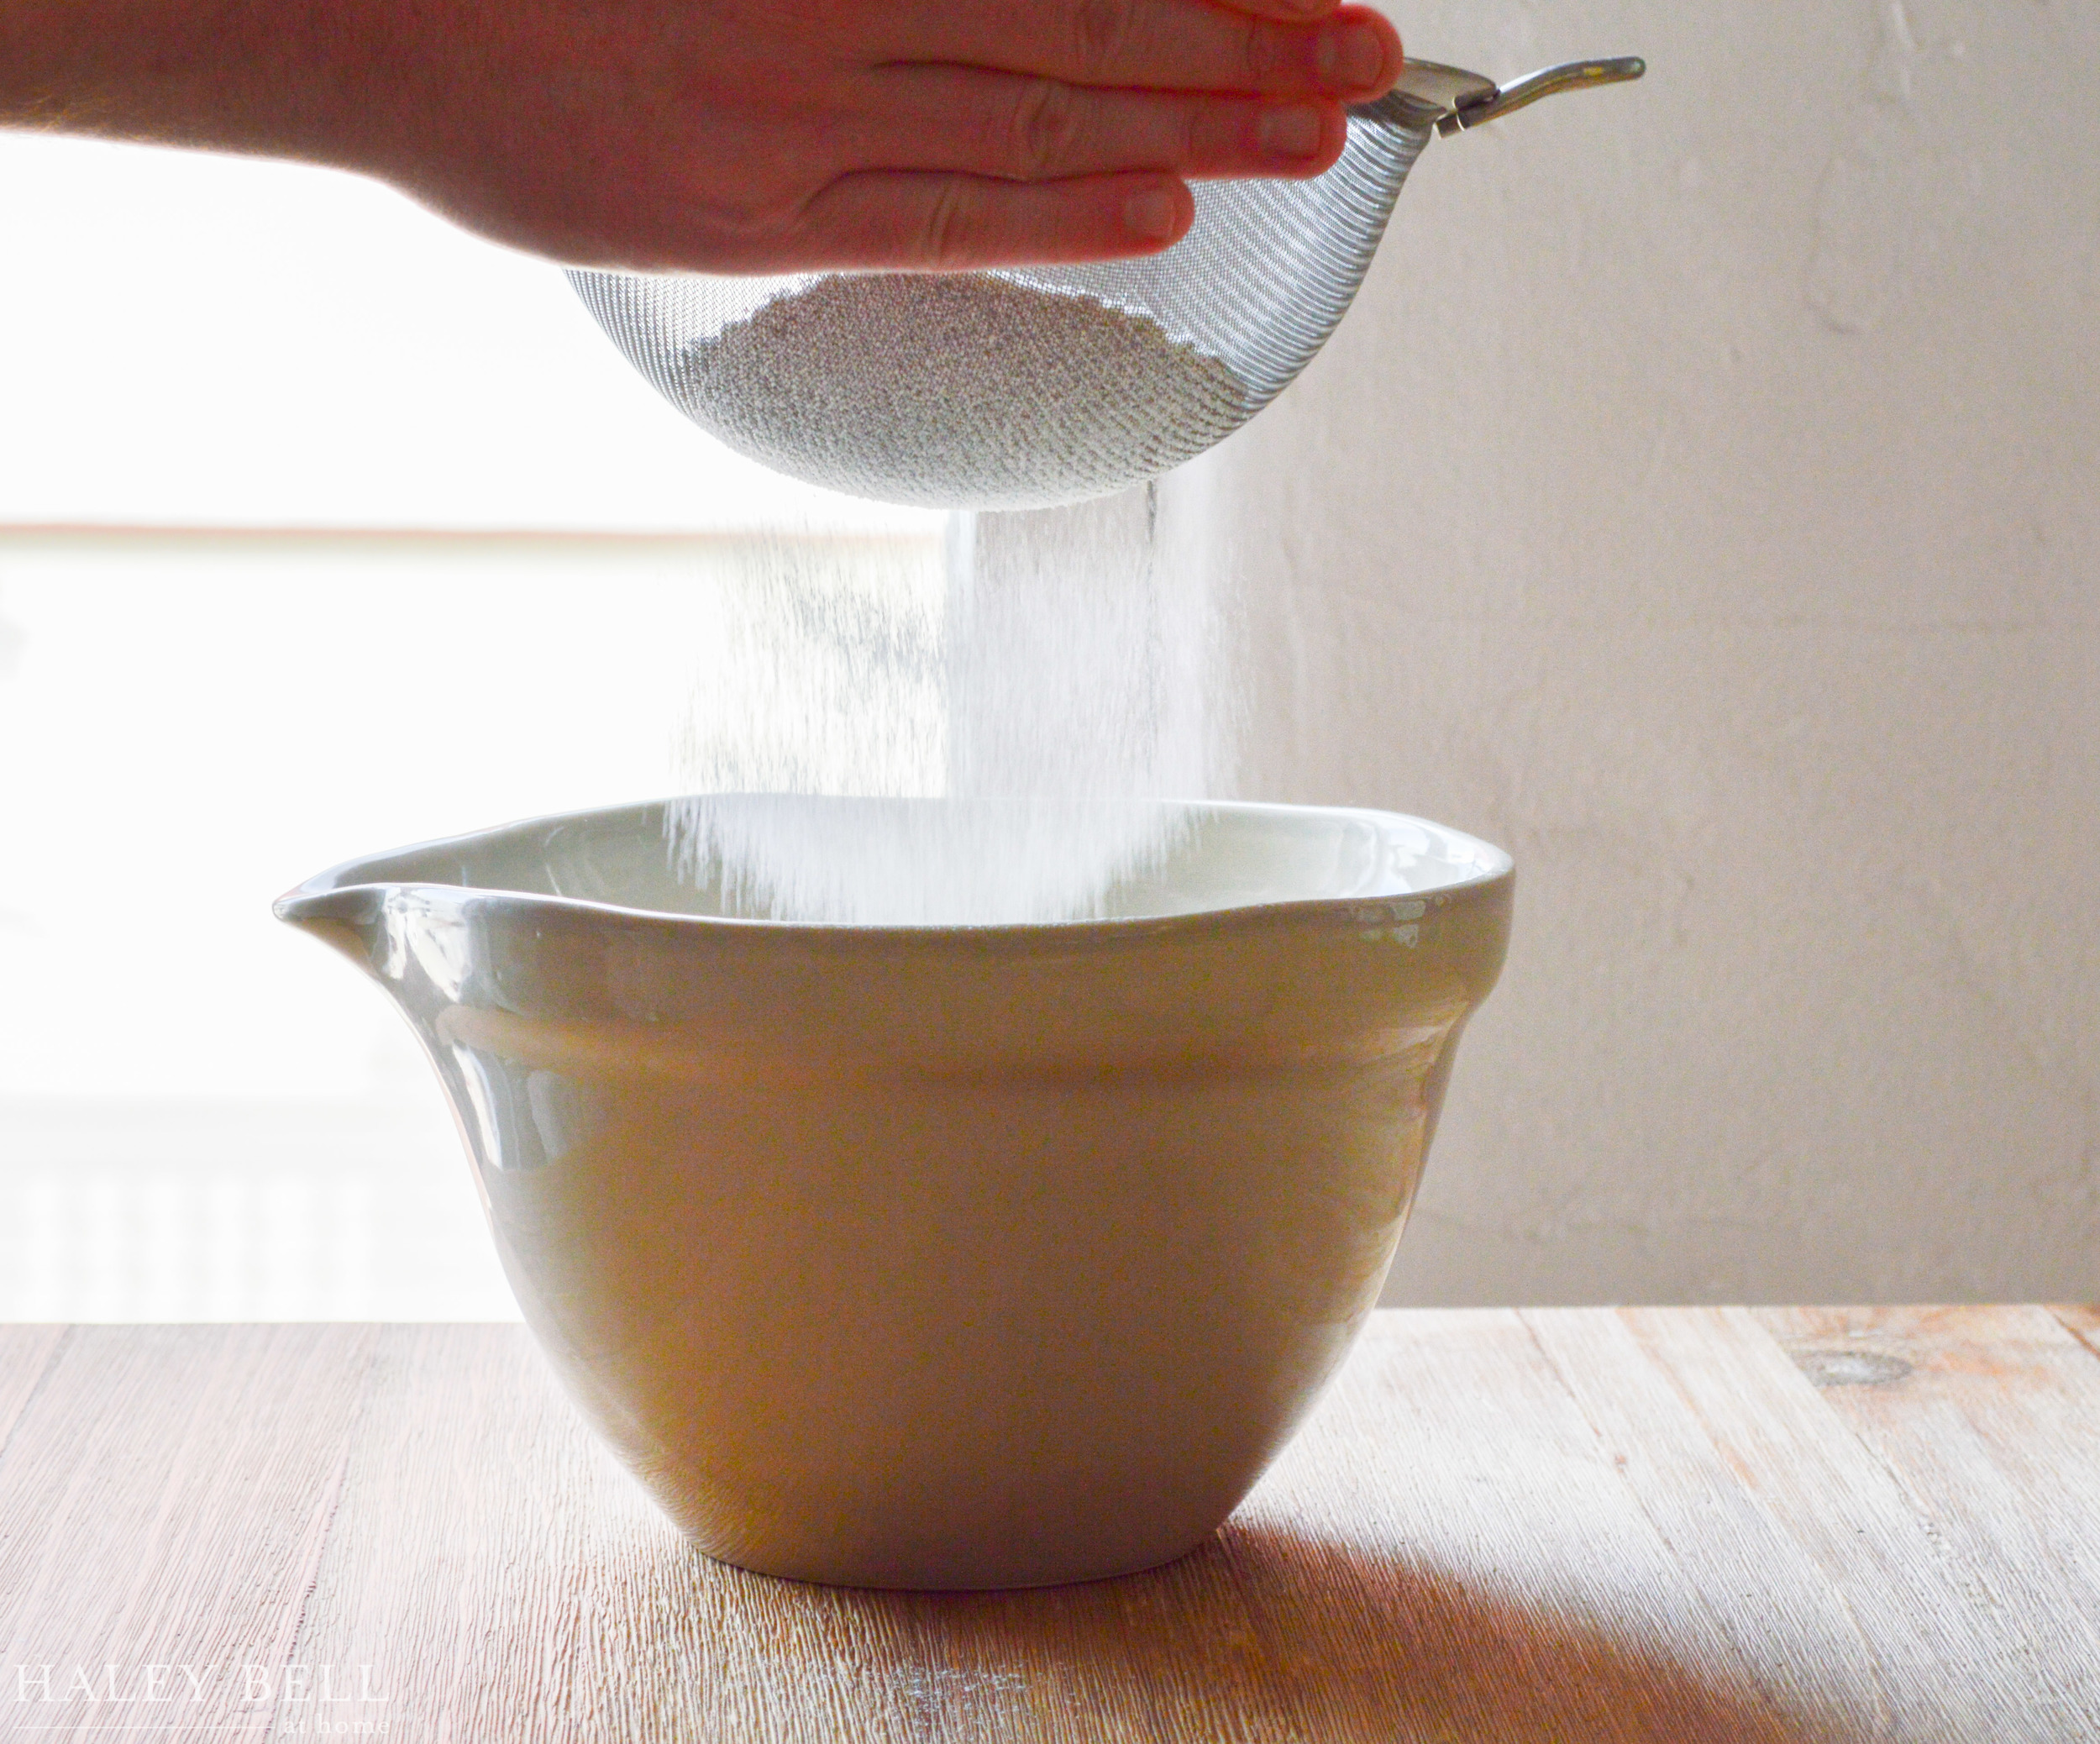
- In a stand mixer (or handheld beaters), beat the brown butter ghee and coconut palm sugar for 2-3 minutes, or until lighter in color and smooth.
- Add the maple syrup, egg yolks and vanilla extract and beat for another 2 minutes.
- Add the almond flour, arrowroot starch, and sea salt and beat until well incorporated, scraping down the sides of the bowl a couple times.
- Stir in the chocolate chunks and chocolate chips.
- Using an ice cream scoop, drop 6 cookies onto each prepared baking sheet. Bake for 9-10 minutes, or until just starting to brown around the edges.
- Remove the cookies from the oven and sprinkle with sea salt. Allow them to cool before removing from the pan (if you can wait that long!). Serve and enjoy.
*This recipe was adapted from this original recipe.